Home Assistant
Le pv routeur étant compatible avec Home Assistant, voici une documentation pour passer le pas et installer une machine Home Assistant
Prérequis
Il est fortement préférable d'avoir un raspberry Pi avec un disque SSD ou une VM équivalente.
Il existe un OS dédié pour Raspberry ( HAOS ) et c'est le plus simple à installer.
Installation home-assistant
L'installation est assez simple et il est possible de s'appuyer sur la doc suivante
https://www.home-assistant.io/installation/
Démonstration
Installation mqtt
j'ai suivis cette doc https://devotics.fr/installer-mqtt-sur-home-assistant/
dans configuration logins:
- username: mosquitto
password: test-123
démarrer
Coté Pv routeur, la configuration est simple.
http://IP_PVROUTER/mqtt.html > IP_HA > bouton HA est coché> application des paramètres + http://IP_PVROUTER/config.html sauvegarder + http://IP_PVROUTER/reboot

http://IP_DIMMER/mqtt.html > IP_HA > application des paramètres + http://IP_DIMMER/config.html sauvegarder + http://IP_DIMMER/reboot
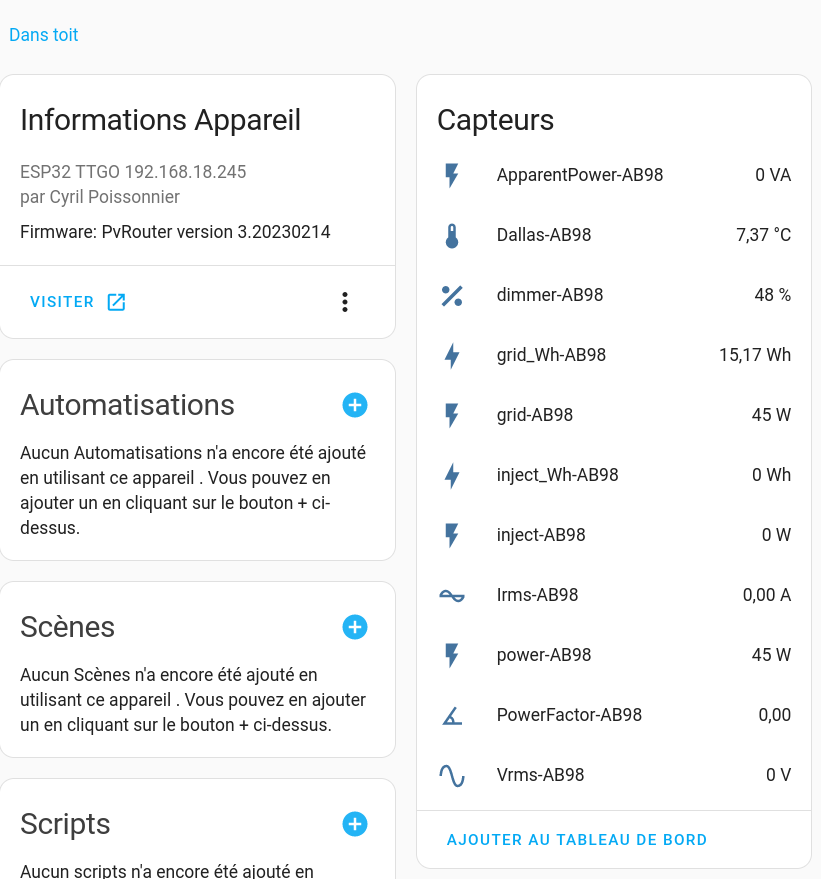
http://IP_HA:8123/config/integrations apparait 2 appareils et 22 entités (ils faut entre 2 et 10 minutes)
Configuration energy
W en WH en s'appuyant sur cette documentation
https://www.home-assistant.io/integrations/integration/
Integration - Riemann sum integral
http://IP_HA:8123/config/helpers
+ Créer une entrée
Intégrale de Reimann
sensor.sensor_grid_ab98_kwh
sensor.grid_ab98
idem avec sensor.inject_ab98
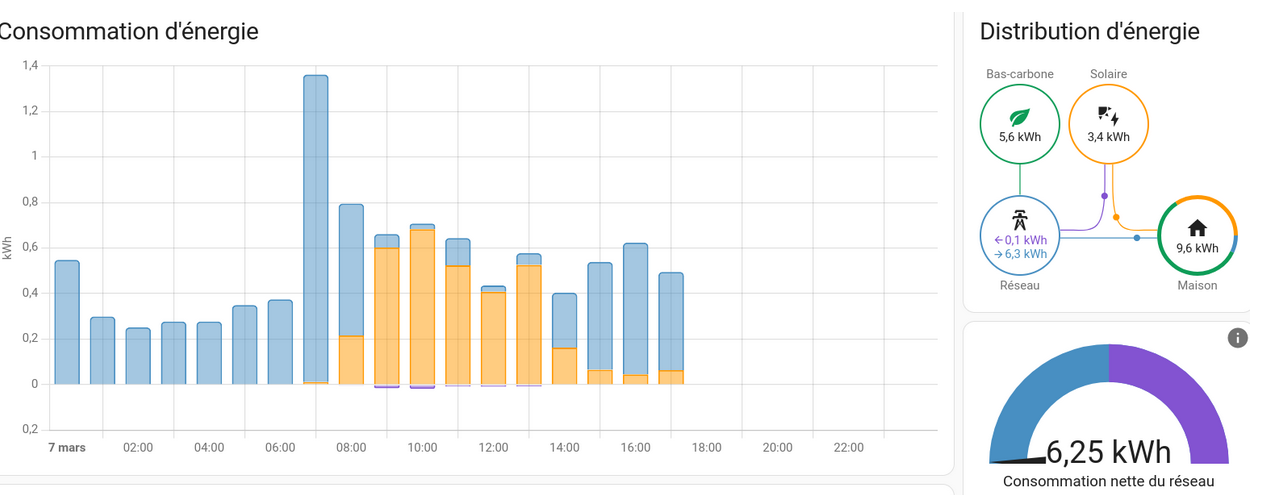
http://IP_HA:8123/config/energy
Réseau électrique > Consommation du réseau > sensor.grid_ab98_Kwh
Réseau électrique > Retourné au réseau > ensor.inject_ab98_Kwh
Panneaux solaires > Production solaire > Envoy Lifetime Energy Production
http://IP_HA:8123/energy
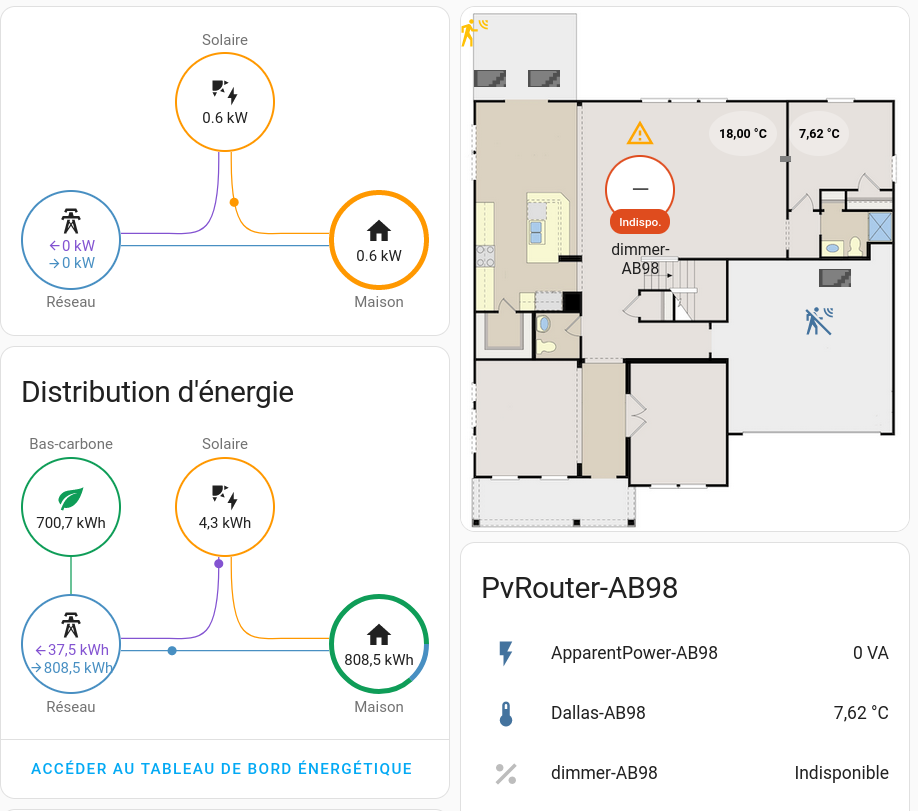
Configuration power-flow-card
il faut HACS suivre en ajoutant ce plugin https://forum.hacf.fr/t/hacs-ajoutez-de ... lisees/359
http://IP_HA:8123/hacs/frontend > + explorer > Power Flow Card
http://IP_HA:8123/dashboard-jbb/default_view tableau de bord j'ai rajouté une carte power-flow-card
type: custom:power-flow-card
entities:
grid: sensor.grid_ab98
solar: sensor.envoy_121516040890_current_power_production
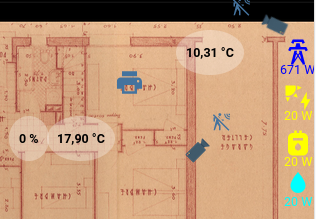
Configuration Picture Elements Card plan
http://IP_HA:8123/dashboard-jbb/default_view tableau de bord j'ai rajouté une carte
type: picture-elements
image: local/jbb/plan-32-lafontaine-rdc-1er.png
elements:

  - type: state-label
    entity: sensor.dimmer_temperature_2ea1
    style:
      top: 65%
      left: 55%
      color: '#000'
      border-radius: 50%
      text-align: center
      background-color: rgba(255, 255, 255, 0.3)
      font-size: 10px
      font-weight: bold
  - type: state-label
    entity: sensor.dallas_ab98
    style:
      top: 50%
      left: 80%
      color: '#000'
      border-radius: 50%
      text-align: center
      background-color: rgba(255, 255, 255, 0.3)
      font-size: 10px
      font-weight: bold
  - type: state-label
    entity: sensor.dimmer_ab98
    style:
      top: 65%
      left: 45%
      color: '#000'
      border-radius: 50%
      text-align: center
      background-color: rgba(255, 255, 255, 0.3)
      font-size: 10px
      font-weight: bold
  - type: icon
    icon: mdi:transmission-tower
    entity: sensor.grid_ab98
    style:
      top: 50%
      left: 97%
      color: blue
  - type: state-label
    entity: sensor.grid_ab98
    style:
      top: 53%
      left: 97%
      color: blue
      font-size: 8px
  - type: icon
    entity: sensor.envoy_current_power_production
    icon: mdi:solar-power
    style:
      top: 58%
      left: 97%
      color: yellow
  - type: state-label
    entity: sensor.envoy_current_power_production
    style:
      top: 61%
      left: 97%
      color: yellow
      font-size: 8px
  - type: icon
    entity: sensor.meter-gas
    icon: mdi:meter-gas
    style:
      top: 66%
      left: 97%
      color: yellow
  - type: state-label
    entity: sensor.meter-gas
    style:
      top: 69%
      left: 97%
      color: yellow
      font-size: 8px
  - type: icon
    entity: sensor.water
    icon: mdi:water
    style:
      top: 73%
      left: 97%
      color: cyan
  - type: state-label
    entity: sensor.water
    style:
      top: 76%
      left: 97%
      color: cyan
      font-size: 8px


No Comments