# Numeric dimmer


# 01 - Install of  Visual Studio Code

To transfer the code to the microcontroller (ESP8266 or Robotdyn) it is necessary to install[ Visual Studio Code](https://code.visualstudio.com/).

Once installed, you must install the [PlatformIO](https://platformio.org/install/ide?install=vscode) package which will be used later for all your projects and not only for the Dimmer or the Pv router.

![](https://cdn.platformio.org/images/platformio-ide-vscode-pkg-installer.4463251e.png)

# 02 - Copy or update repository sources

The sources are available on the Github (a code repository web server)

once your Visual Studio is launched, go to your Terminal and type

```shell
git clone https://github.com/xlyric/PV-discharge-Dimmer-AC-Dimmer-KIT-Robotdyn.git
```

it will then clone the repository on your machine and you can adapt the code to your needs and upload it.

```shell
PS C:\Users\c_lyr\Documents\PlatformIO\Projects\1> git clone https://github.com/xlyric/PV-discharge-Dimmer-AC-Dimmer-KIT-Robotdyn.git<br></br>Cloning into 'PV-discharge-Dimmer-AC-Dimmer-KIT-Robotdyn'...<br></br>remote: Enumerating objects: 179, done.<br></br>remote: Counting objects: 100% (179/179), done.<br></br>remote: Compressing objects: 100% (136/136), done.<br></br>Recote: Total 179 (delta 90), reused 119 (delta 38), pack-reused 0 eceiving objects:  75% (135/179)<br></br>Receiving objects: 100% (179/179), 630.36 KiB | 2.58 MiB/s, done.<br></br>Resolving deltas: 100% (90/90), done.
```

you can then go to the directory created during the command

```shell
Resolving deltas: 100% (90/90), done.<br></br>PS C:\Users\c_lyr\Documents\PlatformIO\Projects\1> ls<br></br><br></br>    Directory: C:\Users\c_lyr\Documents\PlatformIO\Projects\1<br></br><br></br>Mode                 LastWriteTime         Length Name<br></br>----                 -------------         ------ ----<br></br>d----          10/03/2022    16:53                pv-router-esp32
```

In the case of an update, you can update your code again with the following command

```shell
git pull
```

[![image-1648136329142.png](https://pvrouteur.apper-solaire.org/uploads/images/gallery/2022-03/scaled-1680-/image-1648136329142.png)](https://pvrouteur.apper-solaire.org/uploads/images/gallery/2022-03/image-1648136329142.png)

#### Default configuration

There is nothing more to configure in the dimmer,  
you just have to upload the corresponding version to the dimmer.

Wifi configuration is done in Wifi autoconnect.  
He creates a WiFi "dimmer" with a web interface accessible at 192.168.4.1 which allows you to configure your personal WiFi.

# 03 - USB code upload

Uploading is done with Visual Studio Code (VS) using the PlatformIO tab

[![image-1648136519736.png](https://pvrouteur.apper-solaire.org/uploads/images/gallery/2022-03/scaled-1680-/image-1648136519736.png)](https://pvrouteur.apper-solaire.org/uploads/images/gallery/2022-03/image-1648136519736.png)

During your 1st Upload, you must plug in your ESP, wemos or TTL/USB adapter for programming

There are different versions available depending on what you are using as a dimmer.

[![image-1651775770647.png](https://pvrouteur.apper-solaire.org/uploads/images/gallery/2022-05/scaled-1680-/image-1651775770647.png)](https://pvrouteur.apper-solaire.org/uploads/images/gallery/2022-05/image-1651775770647.png)

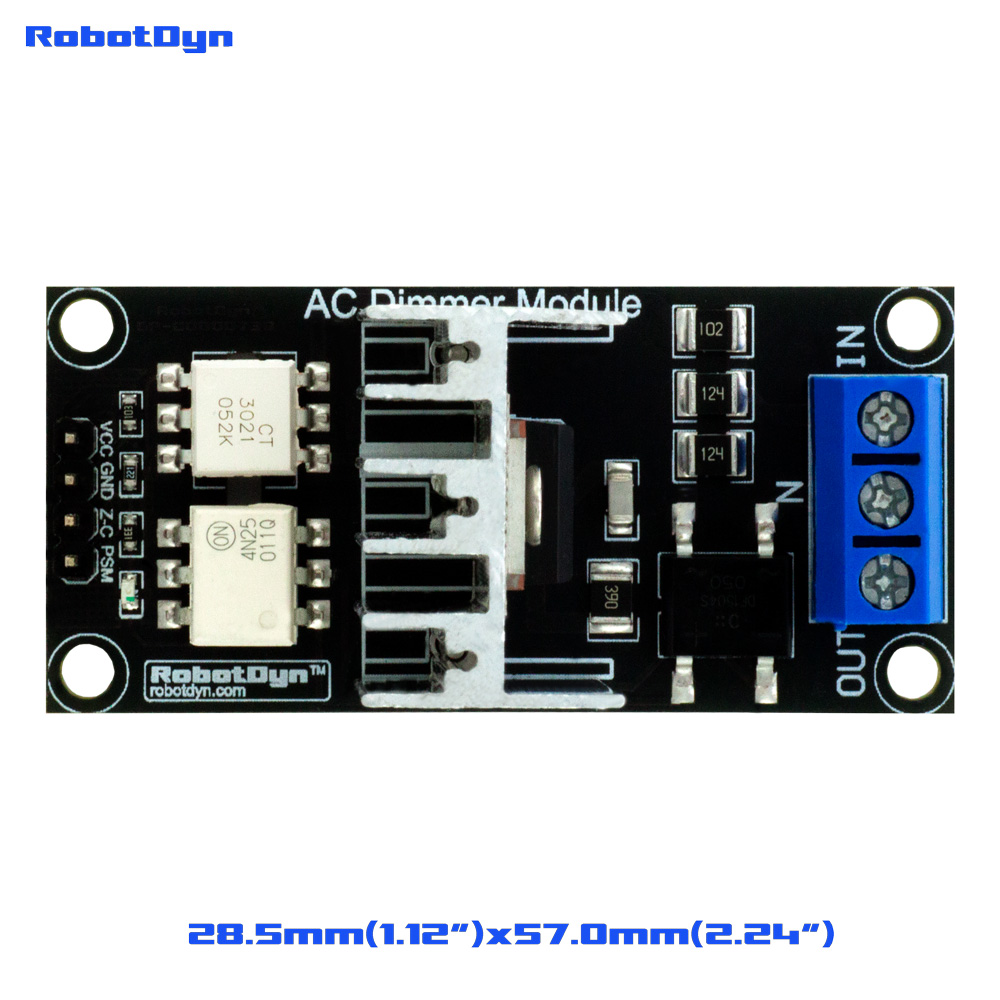
<div id="bkmrk-powersupplyacdimmer-">1. **PowerSupplyACdimmer** is used for old version of Robotdyn dimmer,  
    this is the easiest version to install, it was compatible with the daughterboards supplied with the PV router V1.2 TTGO  
    the recommended maximum power is 5A (and not 8A as indicated by the manufacturer)  
    ( D0 and D1(zc) are used )  
    the Dallas probe uses D2  
    [![image-1651775952029.png](https://pvrouteur.apper-solaire.org/uploads/images/gallery/2022-05/scaled-1680-/image-1651775952029.png)](https://pvrouteur.apper-solaire.org/uploads/images/gallery/2022-05/image-1651775952029.png)
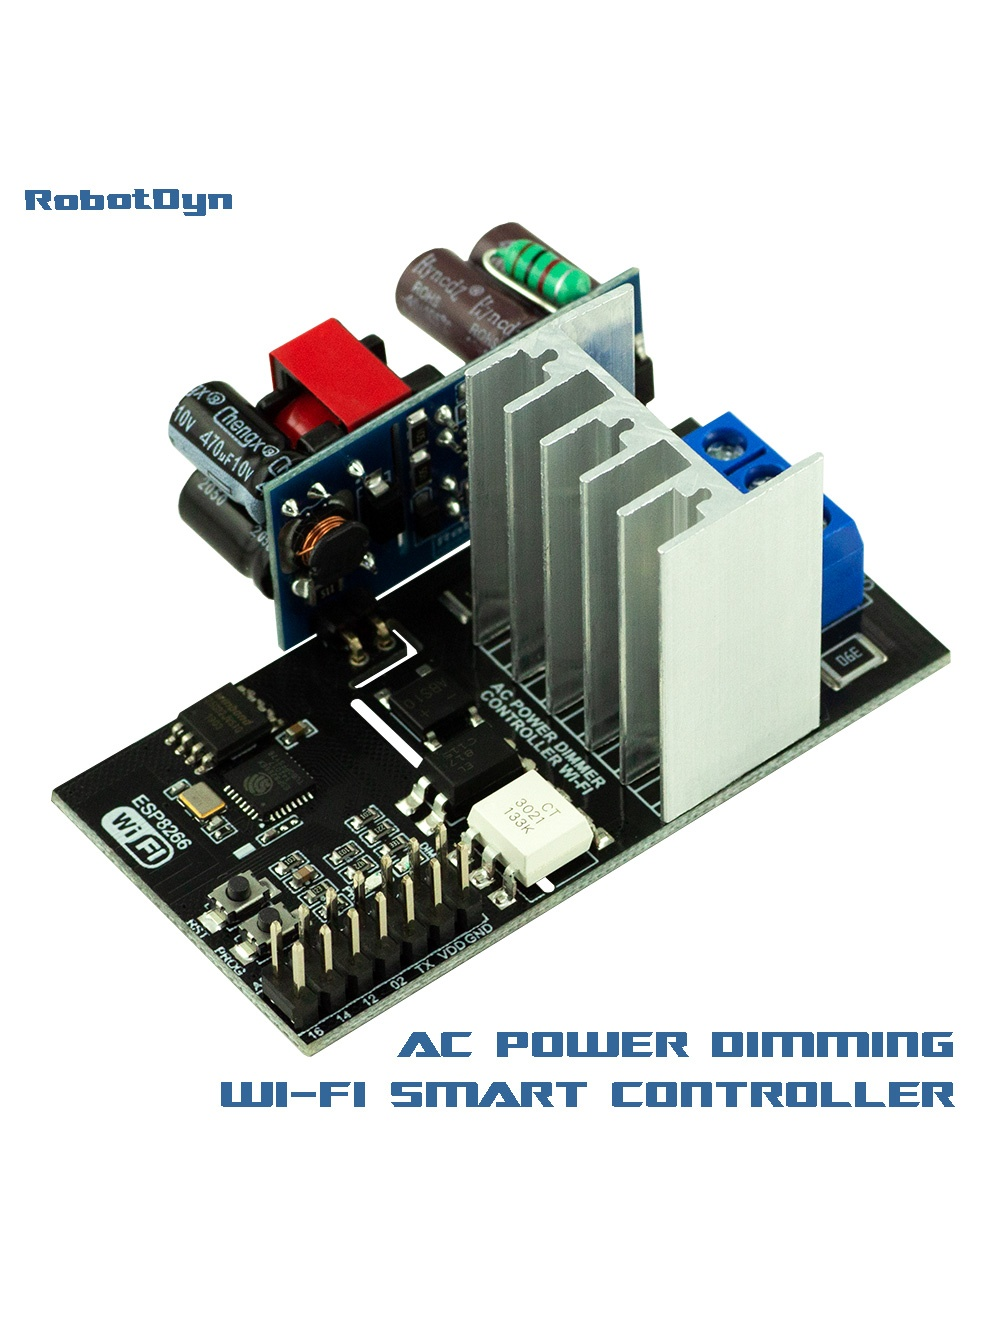
2. <div><div>**StandAlone** is used to later add a Robotdyn dimmer to your ESP. <div>there are different versions supporting more or less power,  
    on the smallest pod, the maximum recommended power is 5A (and not 8A as indicated by the manufacturer)  
    on the 16A model, I think you should not exceed 12A -&gt; ~2500W (to be tested)  
    ( D5 and D6(zc) are used )  
    The Dallas probe uses D7</div></div></div>[![image-1651775990428.png](https://pvrouteur.apper-solaire.org/uploads/images/gallery/2022-05/scaled-1680-/image-1651775990428.png)](https://pvrouteur.apper-solaire.org/uploads/images/gallery/2022-05/image-1651775990428.png)
    
    <div><div><div>  
    </div></div><div>  
    </div></div>
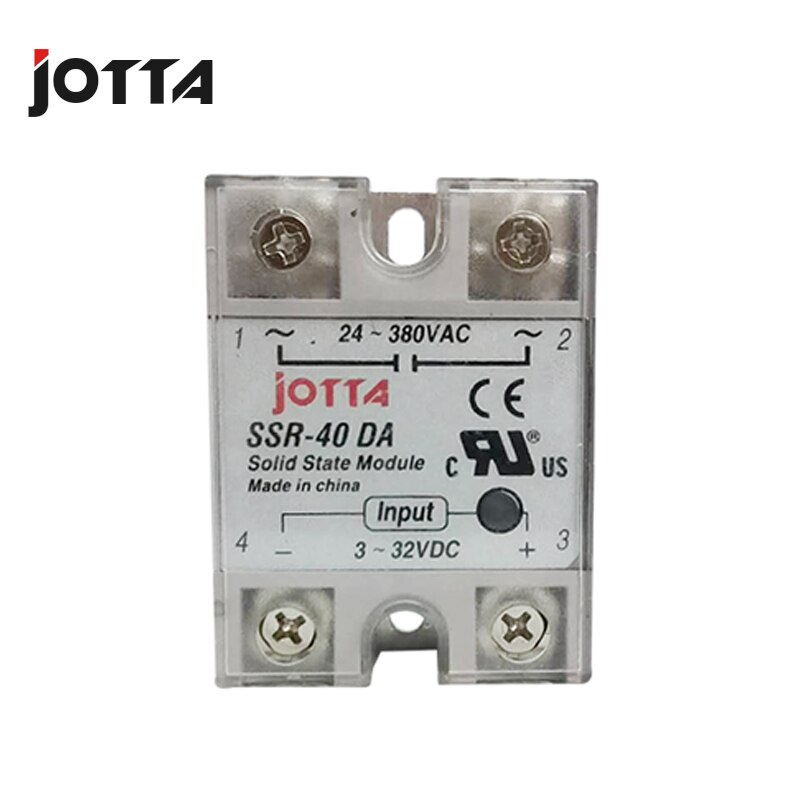
3. <div><div>SSR-JOTTA is used to live control an SSR The - connects to the GND and D4 to the + of the Jotta <div>The Dallas probe uses D2</div></div></div>[![image-1651776015419.png](https://pvrouteur.apper-solaire.org/uploads/images/gallery/2022-05/scaled-1680-/image-1651776015419.png)](https://pvrouteur.apper-solaire.org/uploads/images/gallery/2022-05/image-1651776015419.png)
    
    <div><div><div>  
    </div></div><div>  
    </div></div>
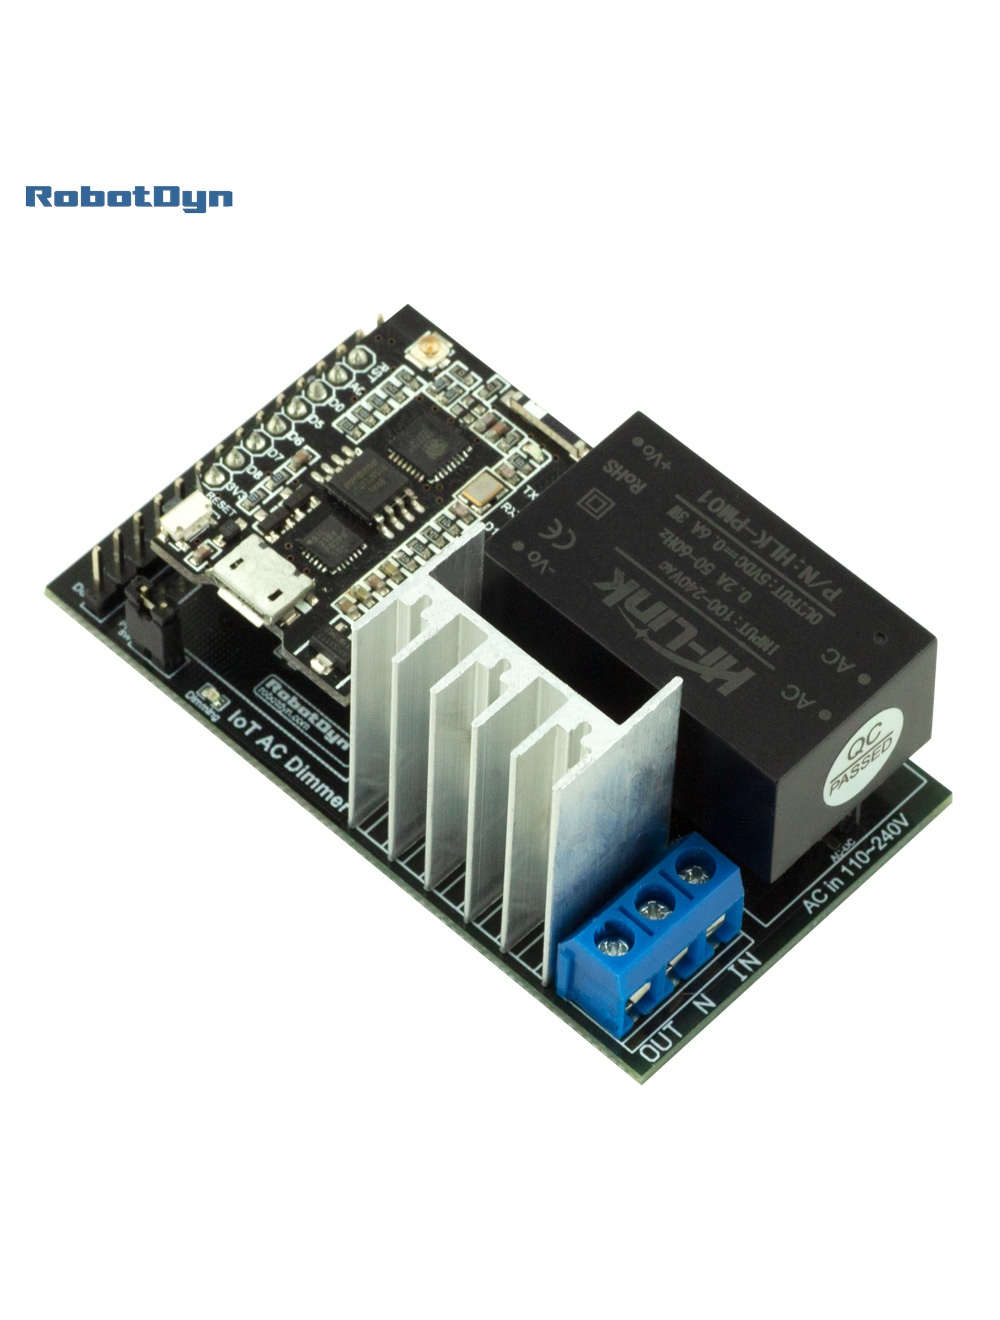
4. **POWERSUPPLY2022** is for the 2022 version of the Robotdyn dimmer.  
    it requires a TTL adapter for the 1st programming.  
    the jumper between vdd and 3.3V must be removed during TTL programming  
    then put back when connecting the assembly to the 220V
    
      
    The Dallas probe uses pin 14 - GND at 16 and 3.3v at 12
    
    <div><div><div>  


    </div></div></div>[![image-1651776030344.png](https://pvrouteur.apper-solaire.org/uploads/images/gallery/2022-05/scaled-1680-/image-1651776030344.png)](https://pvrouteur.apper-solaire.org/uploads/images/gallery/2022-05/image-1651776030344.png)
    
    <div><div><div>  
    </div></div><div>  
    </div></div>

</div>Once the version has been chosen, thanks to VS you will load the firmware and the HTML pages of the router into the microcontroller

[![image-1648136675716.png](https://pvrouteur.apper-solaire.org/uploads/images/gallery/2022-03/scaled-1680-/image-1648136675716.png)](https://pvrouteur.apper-solaire.org/uploads/images/gallery/2022-03/image-1648136675716.png)

Then you can directly upload the code remotely with the /update page of the router

# 04 -  Remote code upload

Uploading is done with Visual Studio Code (VS) using the PlatformIO tab

[![image-1648136519736.png](https://pvrouteur.apper-solaire.org/uploads/images/gallery/2022-03/scaled-1680-/image-1648136519736.png)](https://pvrouteur.apper-solaire.org/uploads/images/gallery/2022-03/image-1648136519736.png)

your code being already present on the router, you can now directly generate the binary files to be sent.  
In general, only the General Build is to be done.  
The Build Filesystem Image is only there to update the HTML pages when functionalities evolve.

[![image-1648136931479.png](https://pvrouteur.apper-solaire.org/uploads/images/gallery/2022-03/scaled-1680-/image-1648136931479.png)](https://pvrouteur.apper-solaire.org/uploads/images/gallery/2022-03/image-1648136931479.png)

once the build is done:

[![image-1648137170040.png](https://pvrouteur.apper-solaire.org/uploads/images/gallery/2022-03/scaled-1680-/image-1648137170040.png)](https://pvrouteur.apper-solaire.org/uploads/images/gallery/2022-03/image-1648137170040.png)

it shows where the firmware is.

all you have to do is connect with the internet browser on your pv router and go to the /update page

[![image-1648137301517.png](https://pvrouteur.apper-solaire.org/uploads/images/gallery/2022-03/scaled-1680-/image-1648137301517.png)](https://pvrouteur.apper-solaire.org/uploads/images/gallery/2022-03/image-1648137301517.png)

and upload the firmware

#### Case of a Filesystem update

In the case of updating the Filesystem (HTML file), it's the same procedure, you just have to take the Filesystem binary and select Filesystem.

# 05 - Wi-Fi Setup

The dimmer code uses the Wifi autoconnect library

at the 1st firmware upload, it will create a "dimmer" wifi  
once the user is connected to this Wifi, the browser will redirect to the page http://192.168.4.1

to ask you to configure your Wifi

[![image-1652887349725.png](https://pvrouteur.apper-solaire.org/uploads/images/gallery/2022-05/scaled-1680-/image-1652887349725.png)](https://pvrouteur.apper-solaire.org/uploads/images/gallery/2022-05/image-1652887349725.png)

it will memorize your Wi-Fi connection confirmations even after a firmware update.

For more details: [https://www.raspberryme.com/wifimanager-avec-esp8266-connexion-automatique-parametre-personnalise-et-gestion-de-votre-ssid-et-mot-de-passe/](https://www.raspberryme.com/wifimanager-avec-esp8266-connexion-automatique-parametre-personnalise-et-gestion-de-votre-ssid-et-mot-de-passe/)